
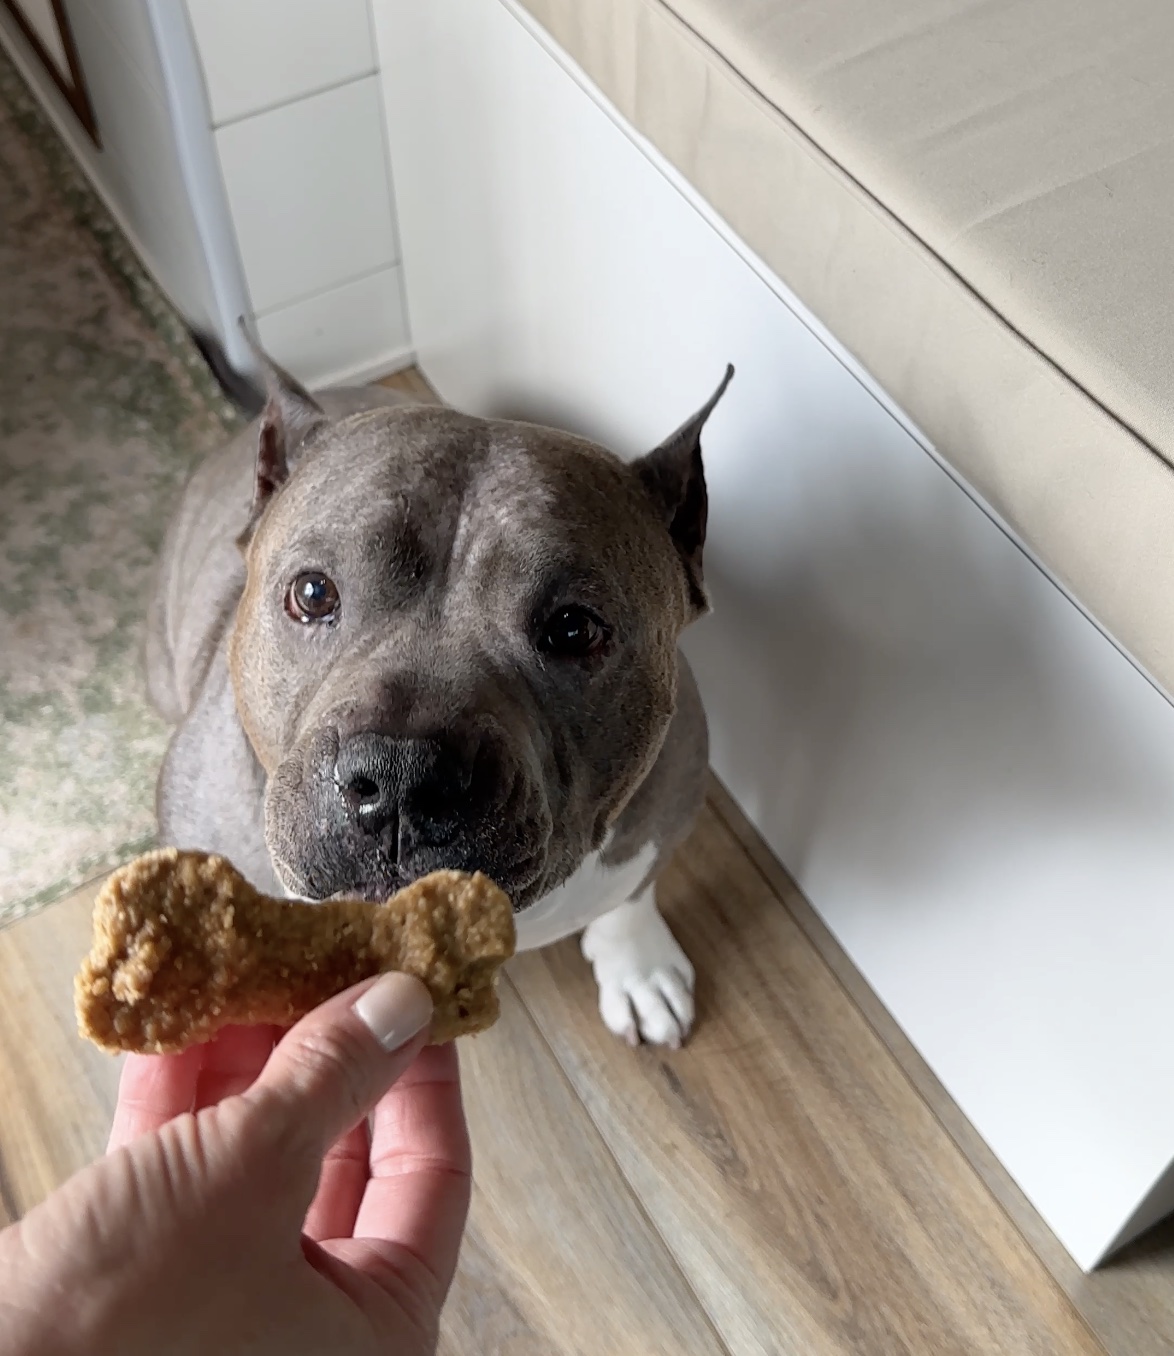
There are a lot of things we gave up when we started traveling in our van.
But small comforts? Those stayed.
And for us, that includes making simple, real food — not just for us, but for our dog too.
These three-ingredient homemade dog treats have become one of those little routines that make life on the road feel… normal.
Why This Works So Well for Van Life
When you’re cooking in a van, everything has to earn its place:
- Few ingredients
- No complicated tools
- Easy cleanup
- Works in a small appliance
This dog treats recipe from It Doesn’t Taste Like Chicken checks every box.
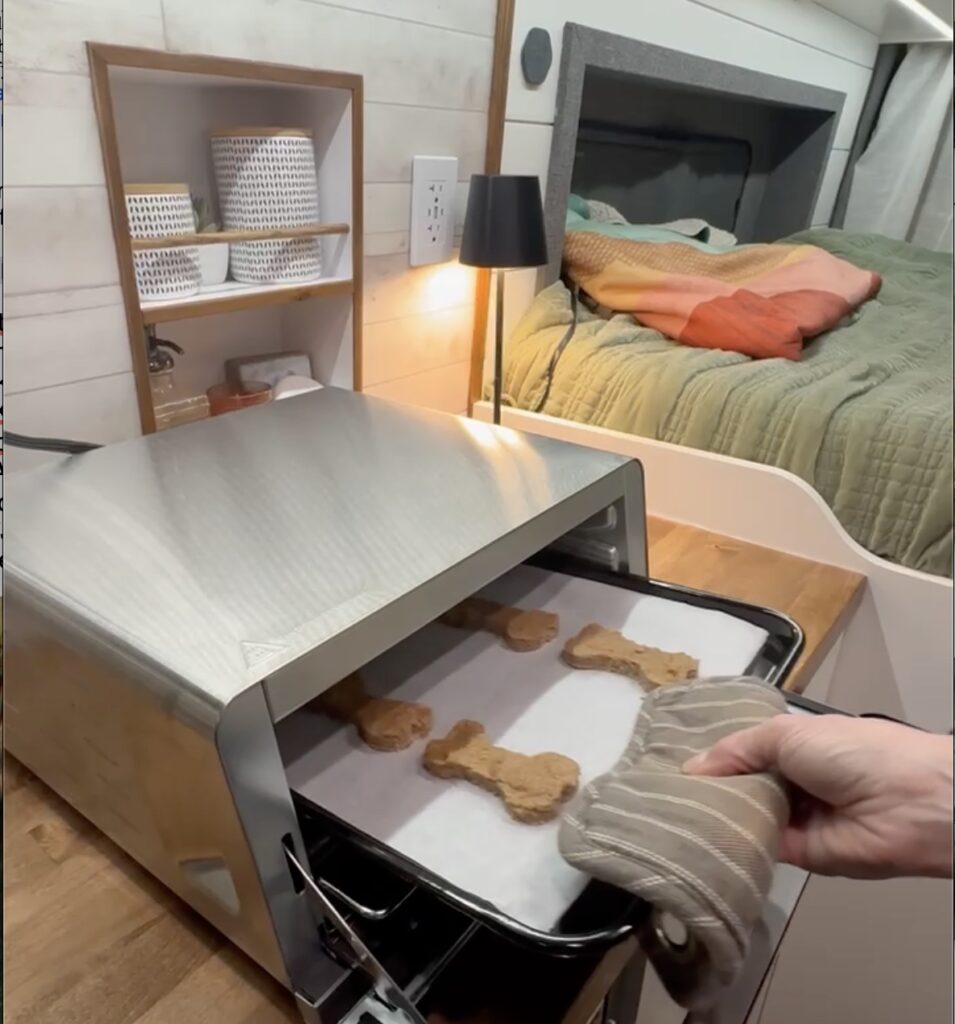
And it works great in the Ninja Foodi Flip, which enables us to cook oven meals on the road.
What You Need (That You Probably Already Have)
You need just three ingredients to make these dog treats:
- Oats
- Peanut butter
- Banana
That’s it! These are so simple to make.
Quick Safety Note
Make sure your peanut butter does not contain xylitol — it’s toxic for dogs.
This is non-negotiable, especially when you’re grabbing groceries in new places on the road.
How We Make Dog Treats These in the Van
This is exactly how we do it in a small space:
- Blend oats into a flour (we use a small blender like this one)
- Mash the banana + mix with the peanut butter. We love collapsible bowls like this one since storage is limited.
- Combine into a dough.
- Roll it out (or just press it flat)
- Cut into small pieces or shapes. I used a dog bone cookie cutter.
Then bake in the Ninja Foodi Flip:
- 300°F
- About 20–30 minutes, depending on thickness
In a van, thinner = faster + less power use.
Why I Love Making These
It’s not really about the dog treats but about making him happy, especially when his routine is interrupted while we travel. I have tasted these myself and would eat them for breakfast or as a snack.
This recipe was inspired by It Doesn’t Taste Like Chicken. You can find the original version here.
Ingredient Swaps for Camp Cooking
When you’re traveling or camping, you might not have every ingredient on hand, but that doesn’t mean you can’t make dog treats. Try these easy swaps that keep recipes simple and healthy:
- Peanut butter → Use unsalted almond butter or pumpkin purée if your dog has sensitivities.
- Flour → Oat flour or crushed rolled oats work great for gluten‑free options.
- Eggs → Substitute mashed banana or unsweetened applesauce for binding.
- Oil → A drizzle of coconut oil adds flavor and helps with coat shine.
These swaps make it easy to whip up treats anywhere, from your RV kitchenette to a picnic table at camp.
Storage Tips for Road Trips
Keeping homemade dog treats fresh while traveling is simple with a few smart habits:
- Store cooled treats in airtight containers or reusable silicone bags.
- Keep them in a cool, shaded spot or a small cooler if you’re in warm weather.
- For longer trips, freeze a batch before leaving and thaw as needed.
- Label containers with the date so you always know what’s fresh.
Affiliate Disclosure: Some of the links in this post are affiliate links, which means I may earn a commission if you choose to make a purchase. These programs help support our travels and allow me to keep creating helpful content. I only recommend products and services we genuinely use or believe offer real value for RVers and pet parents. Creators are required to disclose when they use affiliate links so readers understand that I may earn a commission. It doesn’t change the price you pay, and I only recommend tools we personally use or have researched thoroughly.